What Is a Diaphragm Pressure Gauge and Where Is It Used?
In any industrial setting that matters—from sprawling manufacturing plants to tightly regulated oil refineries—precision isn’t just a nice-to-have. It’s a core requirement for keeping operations safe, efficient, and compliant. A simple pressure gauge is one of the most common instruments on the front line, providing the critical data that fuels key decisions.
But what happens when that data is wrong? An uncalibrated gauge isn’t just slightly off; it’s a potential catalyst for equipment failure, poor product quality, and serious safety hazards. Knowing how to properly calibrate a pressure gauge is, therefore, a fundamental skill for any technician, engineer, or quality professional worth their salt.
This guide cuts through the noise to give you a detailed, professional walkthrough of the entire process. We’ll get into why it’s so important, how to know when it’s time to calibrate, and the exact steps to ensure your measurements are rock-solid.
Why Accurate Pressure Gauge Calibration Is So Critical
Before jumping into the “how,” it’s crucial to firmly grasp the “why.” Calibrating a pressure gauge is much more than a routine check-up. It’s a foundational process that verifies the instrument’s accuracy, directly supporting an organization’s operational integrity. The process is simple in concept: compare the readings from your gauge (the Device Under Test, or DUT) against a measurement standard that has a known, superior accuracy.
Keeping People and Equipment Safe
Let’s be clear: inaccurate pressure readings are a major safety liability. Picture a pressurized vessel in a chemical plant. If its gauge wrongly indicates a safe pressure level while it’s actually creeping into the danger zone, the result could be a catastrophic rupture. Official reports often point to equipment malfunction—including instrumentation failure—as a key cause of workplace incidents. Diligent calibration is one of the most effective lines of defense against these preventable events.

Driving Efficiency and Product Quality
So many industrial processes hinge on exact pressure levels to work correctly.
- Pharmaceuticals: In sterile manufacturing, maintaining specific positive or negative pressures in cleanrooms and bioreactors is non-negotiable. It’s what ensures product purity.
- Food and Beverage: Think about carbonation, pasteurization, or homogenization. Each relies on precise pressures to deliver a consistent, high-quality product every single time.
- Manufacturing: Hydraulic presses and pneumatic automation need accurate pressure to stamp, form, and assemble parts with tight, repeatable tolerances.
A single out-of-spec gauge can cause subtle process deviations that lead to entire batches being scrapped, reducing yield and burning through money and materials.
Meeting Tough Regulatory and Quality Standards
Most serious industries are governed by strict regulations and quality management systems like ISO 9001. These frameworks require that key measuring tools get calibrated at defined intervals. Crucially, that calibration must be done against standards that are traceable to national or international benchmarks (like those from NIST in the United States).
Ignoring your calibration schedule isn’t an option. It can lead to failed audits, costly non-compliance penalties, and even the loss of certifications that are essential to stay in business.
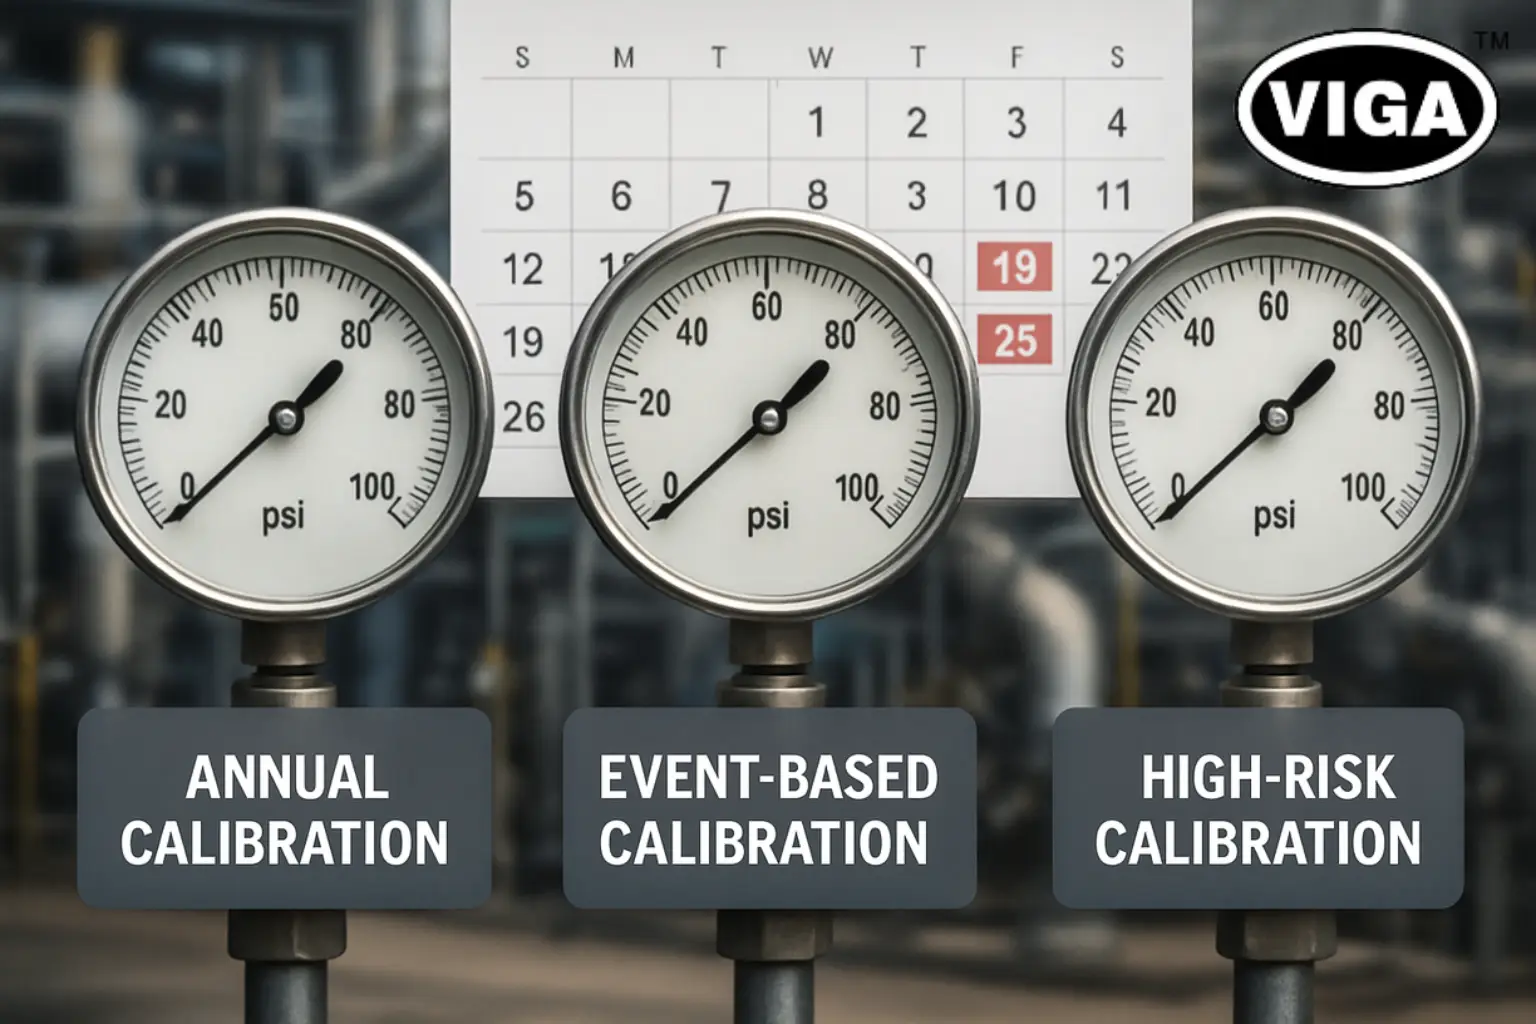
How Often Do Gauges Need Calibration? Nailing Down the Frequency
There’s no single, universal answer to how often a pressure gauge needs calibrating. The best approach is a risk-based one, weighing several key factors.
- Start with the Manufacturer: The manufacturer’s recommendation is your baseline. They know their instrument’s design and will suggest a starting interval.
- Look at the Application: The stakes of the application matter. A gauge on an aerospace life-support system will have a much more aggressive calibration cycle than one monitoring a general-purpose air compressor in a workshop.
- Consider the Environment: This is a big one. A gauge exposed to heavy vibration, temperature swings, corrosive chemicals, or sharp pressure spikes will drift out of tolerance far quicker than one sitting in a stable, clean control room. Harsher conditions demand more frequent calibration.
- Calibrate After Any “Event”: It’s mandatory to recalibrate if the gauge gets dropped, slammed with pressure beyond its maximum rating (over-pressured), or has undergone any repairs.
Think of it this way: if a gauge consistently passes its annual check-up with flying colors, you might extend its next appointment to 18 months. But if it’s always on the edge or failing, you need to shorten that interval, fast. Analyzing the calibration history (“As Found” data) is the only way to truly optimize your schedule.
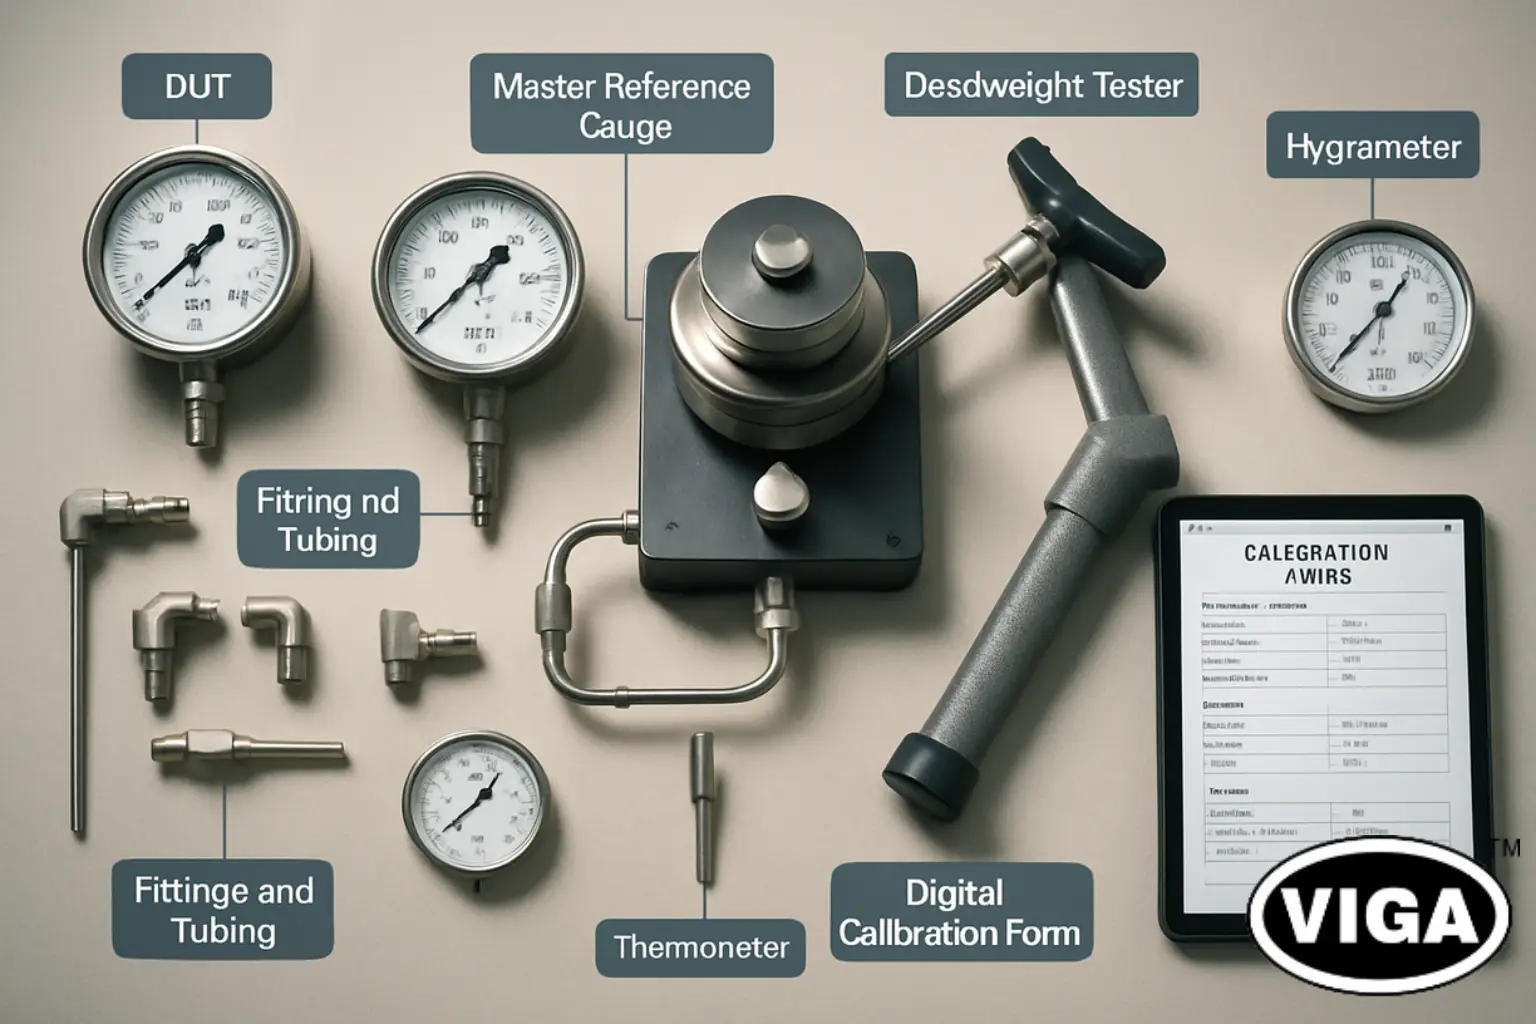
The Right Tools for the Job: Your Pressure Calibration Checklist
Performing a proper calibration means having the right equipment. Skimping on your tools simply invalidates the whole process. It’s that simple. Here’s what you need to have on your bench.
- Device Under Test (DUT): This is simply the pressure gauge you’re about to test.
- Reference Standard (Master Gauge): This is your source of truth and the most important tool in the setup. It absolutely must be more accurate than the DUT. The widely accepted guideline is a Test Accuracy Ratio (TAR) of at least 4:1. This means if you’re calibrating a gauge with a ±1% accuracy, your reference standard needs an accuracy of ±0.25% or better. Critically, this standard must have its own valid, current calibration certificate traceable to a body like NIST.
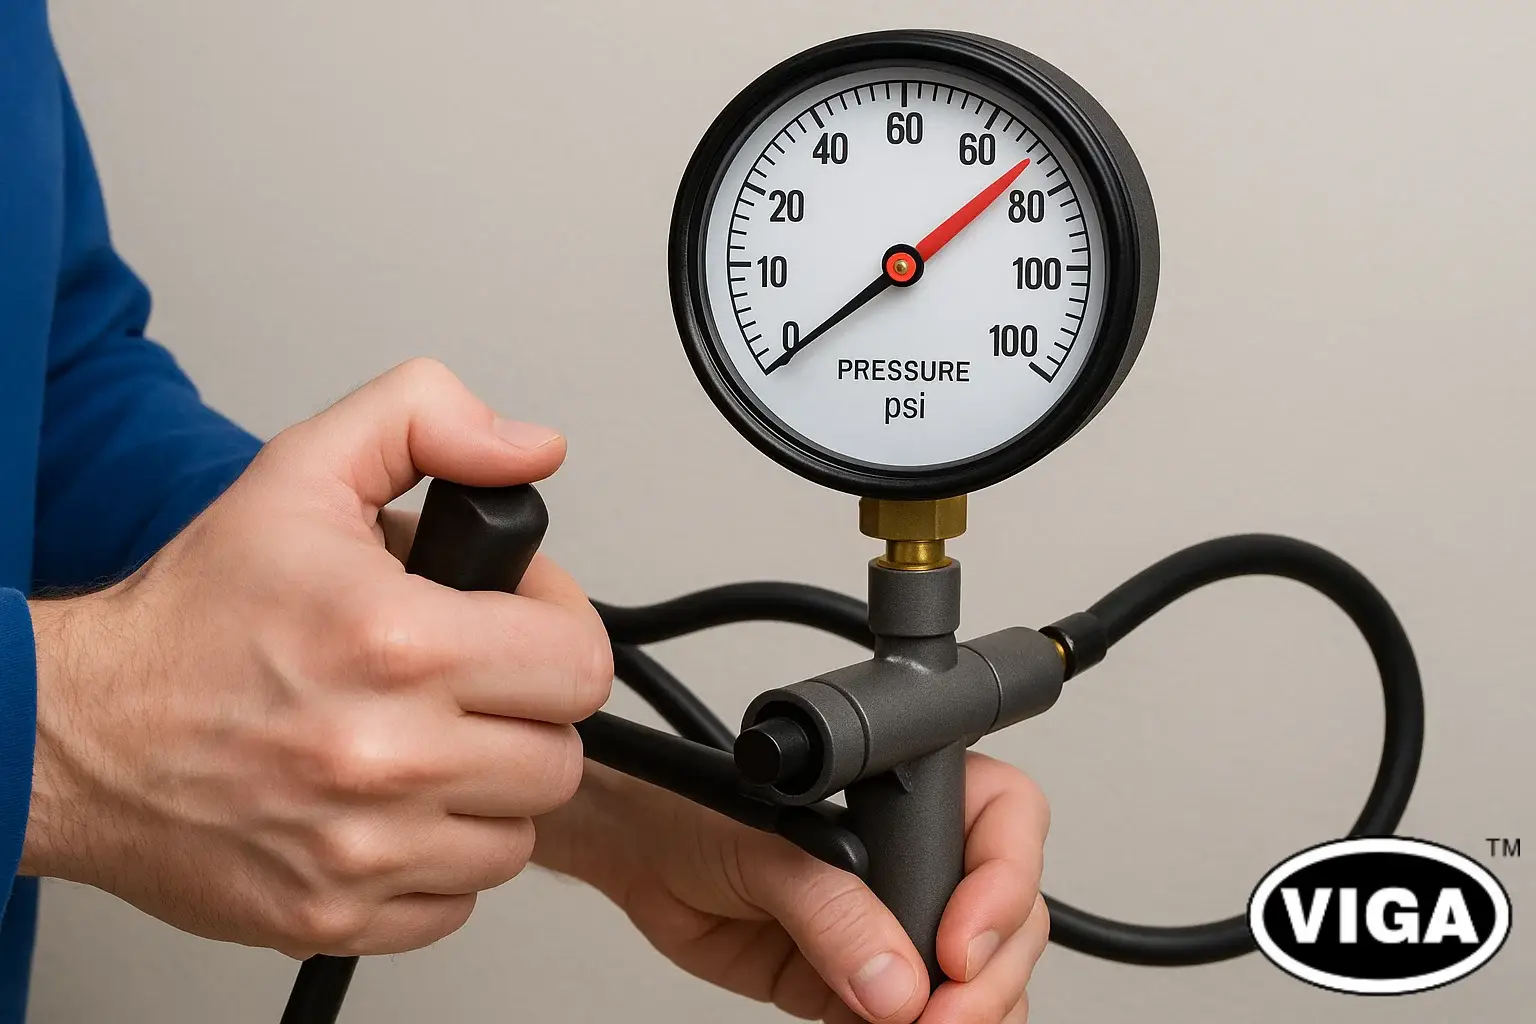
- Pressure Source: You need a clean, stable way to generate and fine-tune pressure.
- Pneumatic Hand Pump: Great for lower pressures, typically up to 600 PSI, using air.
- Hydraulic Hand Pump/Comparator: The go-to for high-pressure work, using water or calibration oil.
- Deadweight Tester (DWT): The gold standard. A DWT is a primary standard that creates incredibly precise pressure using finely machined piston-cylinder assemblies and calibrated masses. These are often used to calibrate the master gauges themselves.
- Fittings and Tubing: A good set of leak-proof fittings (e.g., NPT, BSP) and high-pressure tubing. Leaks are the enemy of stable pressure.
- Environmental Tools: A basic calibrated thermometer and hygrometer. You need to know the ambient temperature and humidity, as they can affect instrument performance, and you must record them on the certificate.
How to Calibrate a Pressure Gauge: The Step-by-Step Method
With the groundwork laid, we can get into the practical, hands-on process. Follow these steps methodically. Don’t take shortcuts.
Step 1: Prep Work and Safety
First things first: safety and prep. Isolate the gauge from its process and make sure it’s fully de-pressurized. No exceptions. Give the gauge’s body and threads a good cleaning to keep dirt and gunk out of your pristine calibration setup. And of course, wear your standard PPE, especially safety glasses.

Step 2: Set Up the Environment
Let both your DUT and your reference standard sit in the calibration area for several hours. They need to stabilize at the same ambient temperature. Temperature changes cause metal to expand and contract, which can throw off readings. Document the ambient temperature before you start connecting anything.
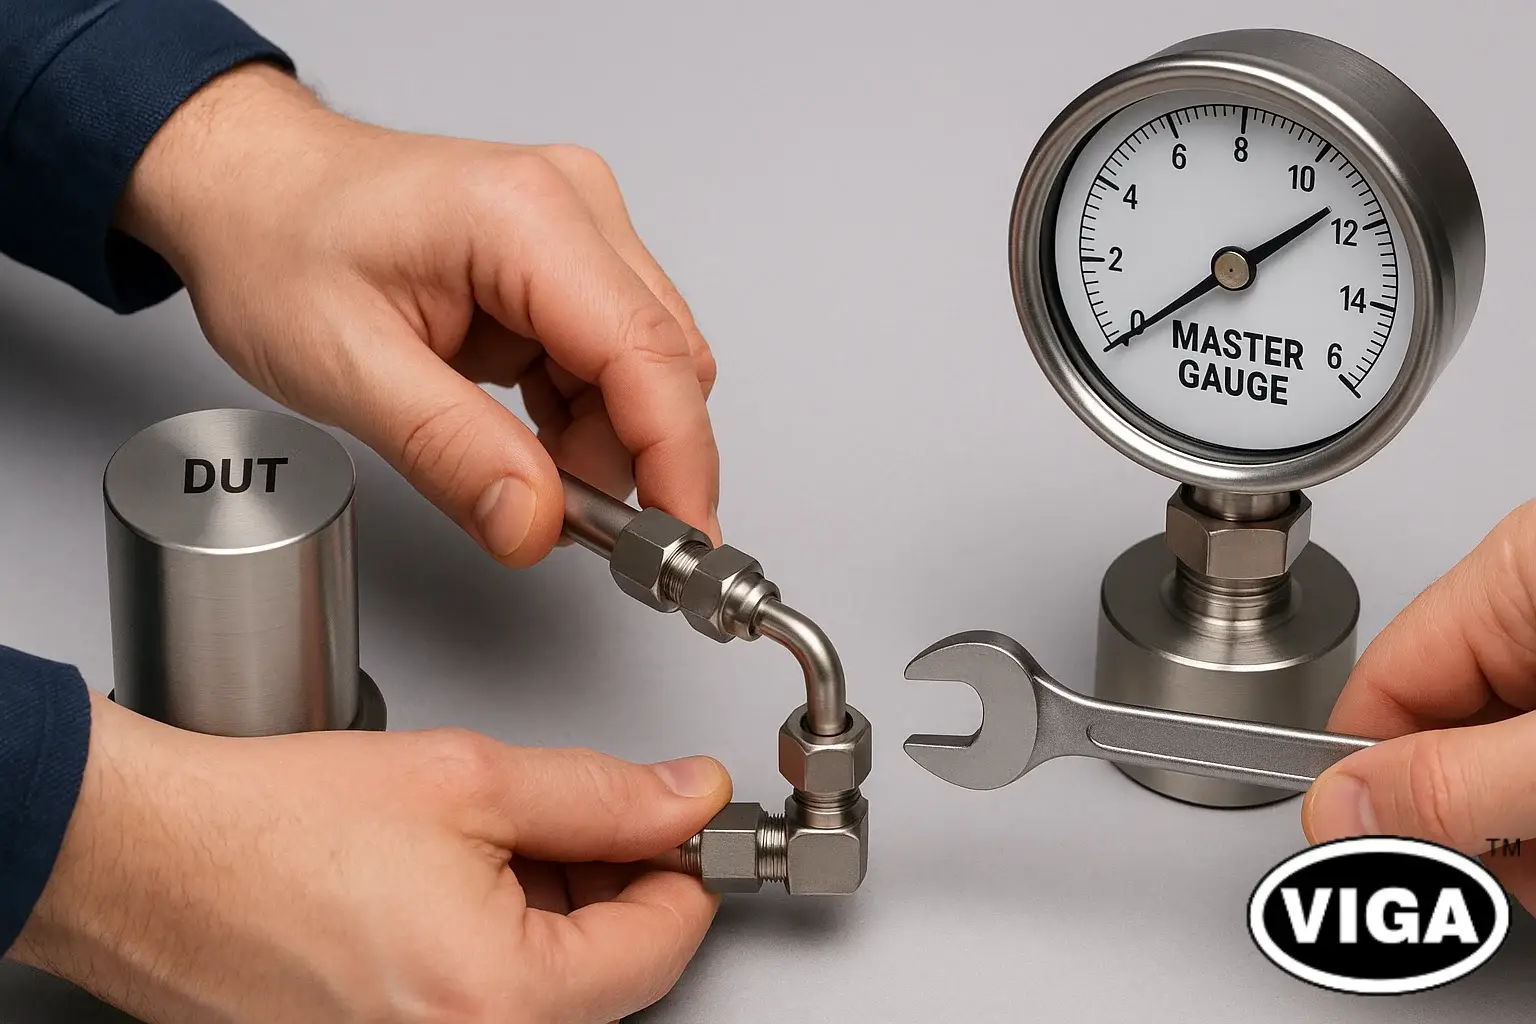
Step 3: Connect the System
Mount the DUT and the reference standard onto the pressure source using the right adapters. Hand-tighten first, then use a wrench to snug them up properly. You’re aiming for a completely sealed, leak-proof system.
Step 4: Exercise the Gauge (The Most-Skipped Step)
Now for a step many amateurs skip: exercising the gauge. This isn’t a pointless warm-up. For mechanical analog gauges, you need to gently apply pressure up to the gauge’s maximum reading, hold for 30 seconds, then slowly vent back to zero. Do this two or three times. This process helps seat the internal components—like the Bourdon tube and its linkages—ensuring the mechanism moves freely and provides more stable, repeatable readings during the actual test.
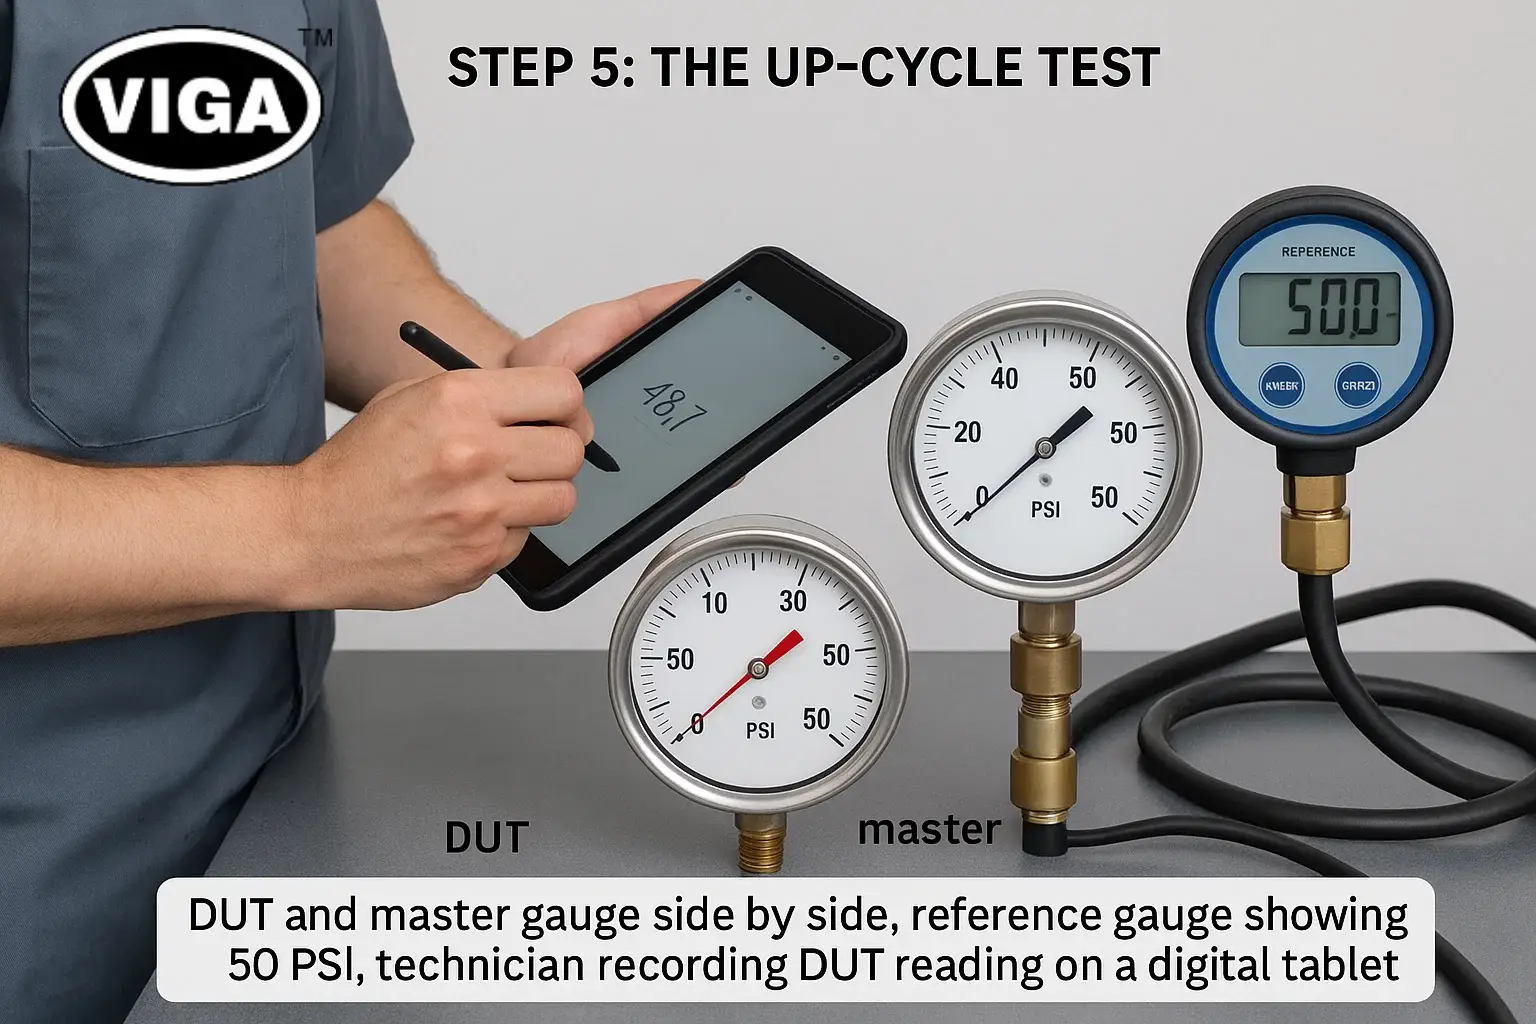
Step 5: The Up-Cycle Test
Calibration is typically performed at 5 points spread evenly across the gauge’s range: 0%, 25%, 50%, 75%, and 100%. So for a 200 PSI gauge, you’d test at 0, 50, 100, 150, and 200 PSI.
- Start at zero. The DUT should read zero. If it doesn’t, note this “zero offset.”
- Slowly and carefully increase pressure until the reference standard—not the gauge you’re testing—hits that first test point (e.g., 50 PSI). Do not tap the gauge and try not to overshoot the mark.
- Let the pressure stabilize for a moment, then write down the exact reading from the DUT.
- Continue this for the 50%, 75%, and 100% points. If you do overshoot a test point, you must vent the system and start the increasing sequence again.
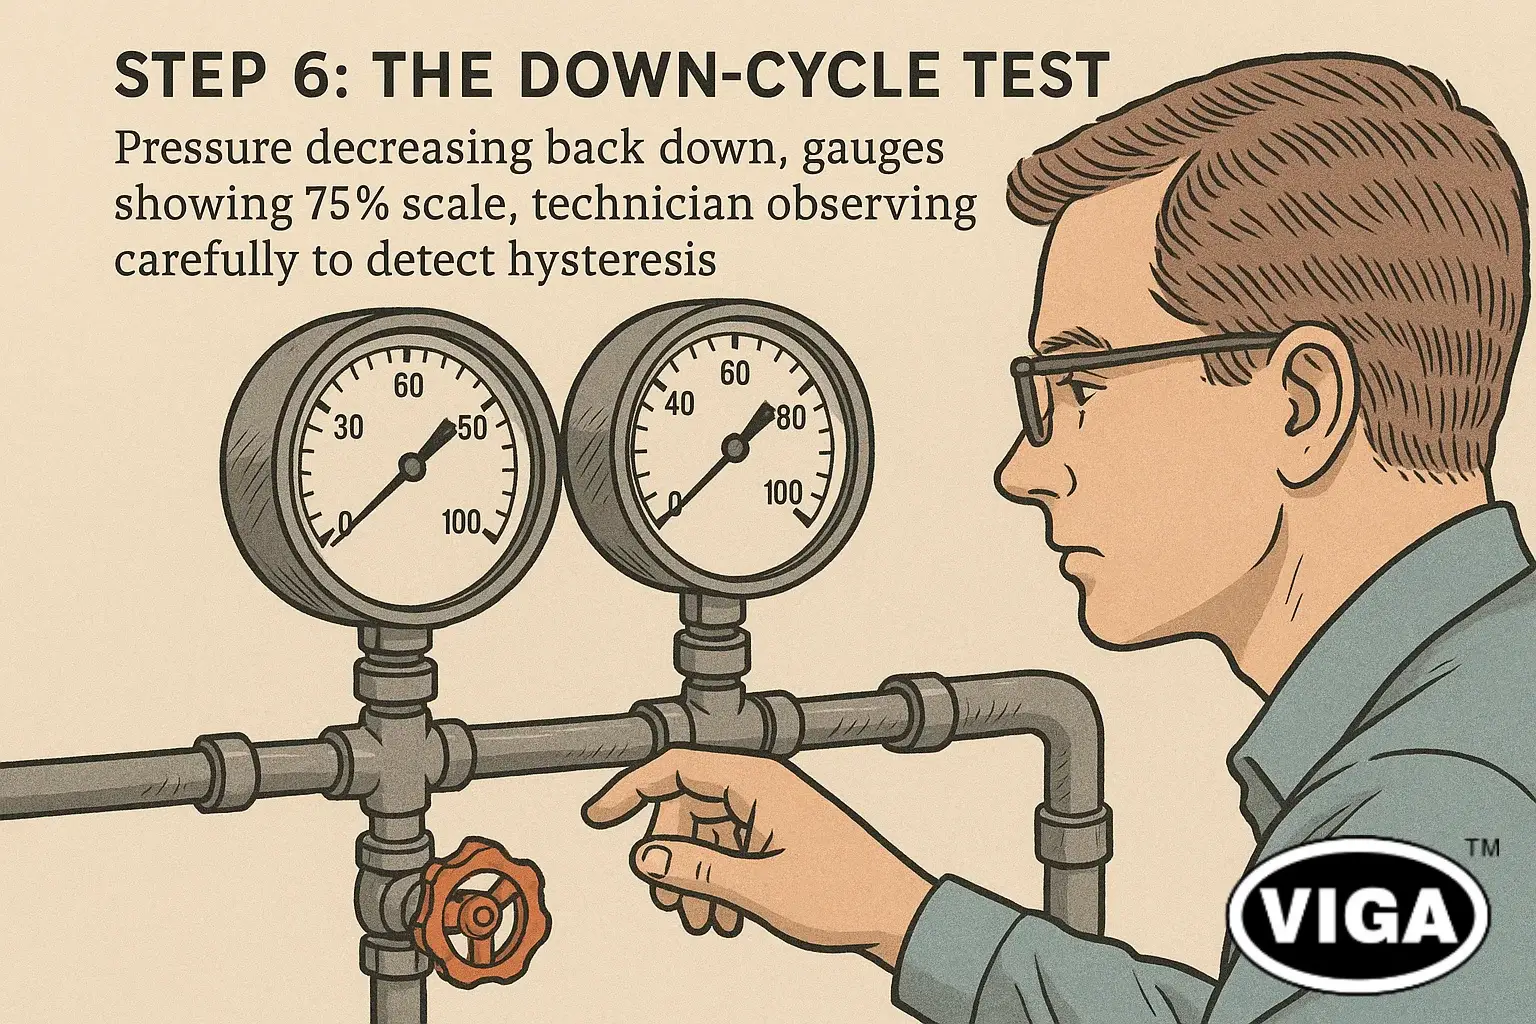
Step 6: The Down-Cycle Test
Once you’ve taken the 100% reading, it’s time to check the gauge on the way back down.
- Slowly and smoothly decrease pressure until the reference standard hits the 75% point. Record the DUT’s reading.
- Repeat this for the 50%, 25%, and 0% points.
- Testing on both the up and down cycles is the only way to check for hysteresis—a lag in the mechanism that causes the gauge to read differently at the same pressure point depending on if the pressure is rising or falling.
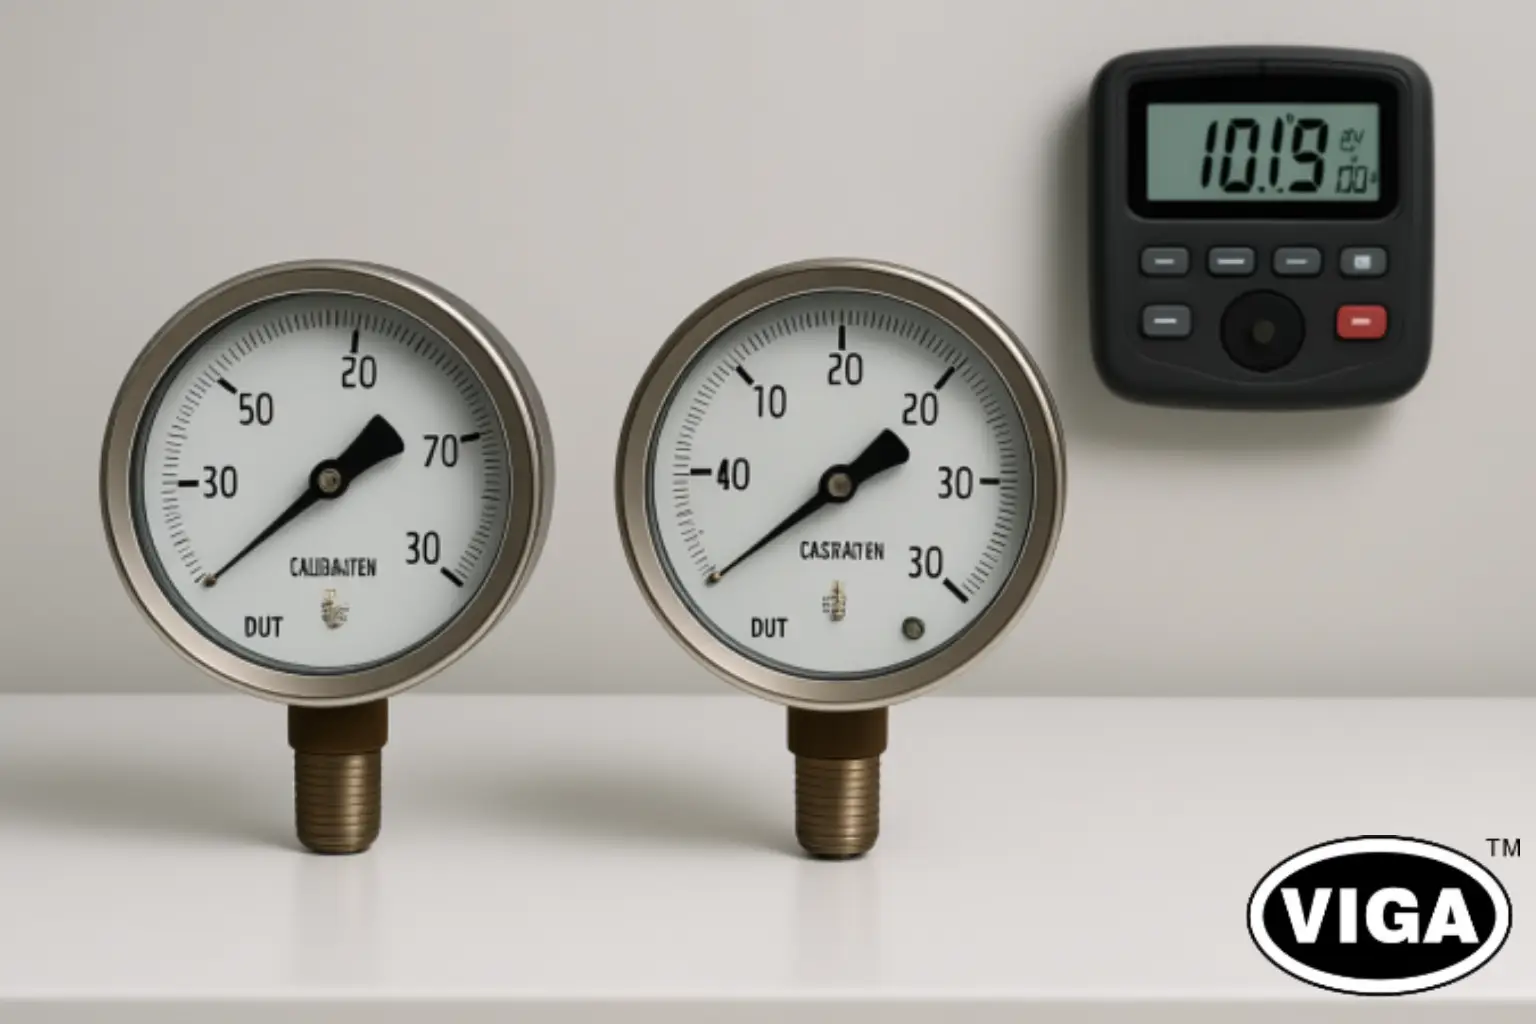
Step 7: Do the Math and Analyze the Results
Now you have a table of data. For each test point, calculate the error with a simple formula:
Error = DUT Reading – Reference Standard Reading
Take that error value and compare it against the gauge’s official accuracy tolerance, which you can find on its data sheet. For instance, an ASME B40.100 Grade 1A gauge has a tolerance of ±1% of its span. For our 200 PSI gauge, that means the error must be no more than ±2 PSI at any point on the scale.
Making the Call: Pass, Fail, or Adjust?
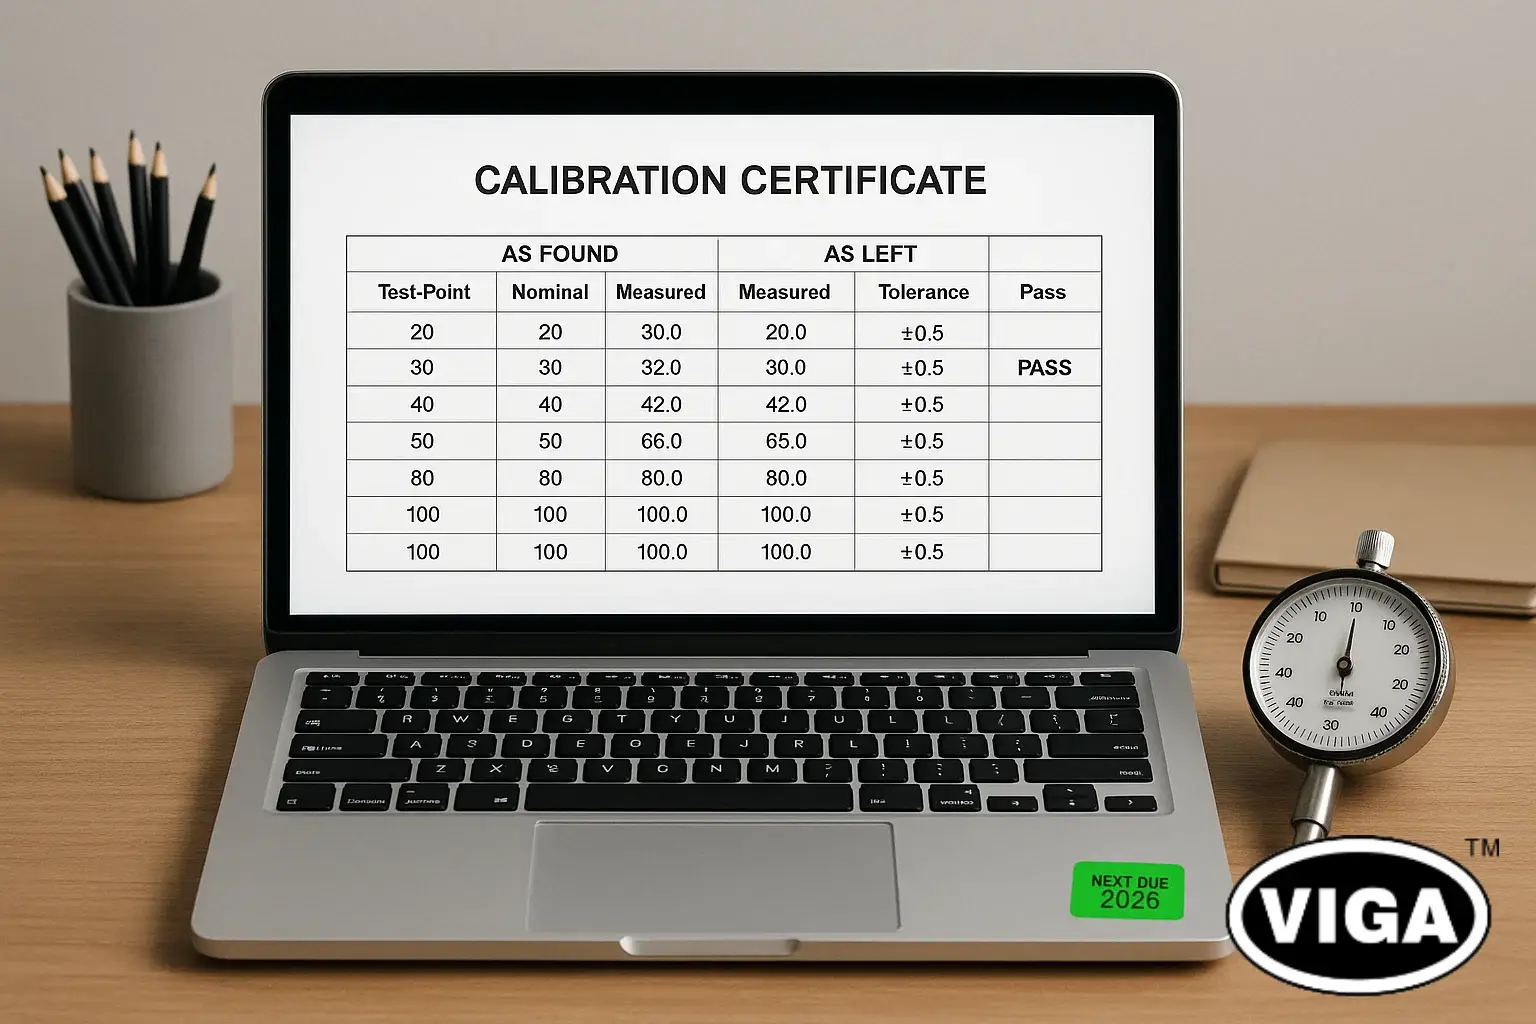
Your data tells you what to do next. It’s vital to have separate “As Found” (before any adjustments) and “As Left” (after any adjustments) data on your record.
Did it Pass or Fail?
It’s straightforward. If the gauge’s error at every single test point is within the specified tolerance, it passes. It can be put back into service with a new calibration sticker showing the date and its next due date.
If the error at even one point is outside the tolerance, the gauge fails.
Adjustment vs. Replacement
Here’s where a judgment call comes in. If a gauge fails, what’s the next move? Some analog gauges have simple external adjustments for the pointer to correct a zero error. Linearity adjustments inside the gauge are much more complex and should only be done by very experienced technicians.
But for most common, inexpensive gauges, the truth is simple: if it’s out of spec, replace it. The cost of labor to properly repair and recalibrate an old, worn gauge often exceeds the cost of a brand new, reliable one.
Don’t Forget the Paperwork
In the world of quality control and regulation, if it isn’t documented, it didn’t happen. A complete calibration certificate is non-negotiable. It must contain:
- The unique serial or asset number of the calibrated gauge.
- Full details of the reference standard used (ID, accuracy, traceability info).
- The “As Found” and, if applicable, “As Left” test data.
- The calculated error vs. the acceptance tolerance for each point.
- A clear “Pass” or “Fail” result.
- Date of calibration, the technician who performed it, and the next calibration due date.
- Environmental conditions (temp, humidity).
- This certificate is your objective proof for audits and a critical part of your instrument’s maintenance history.
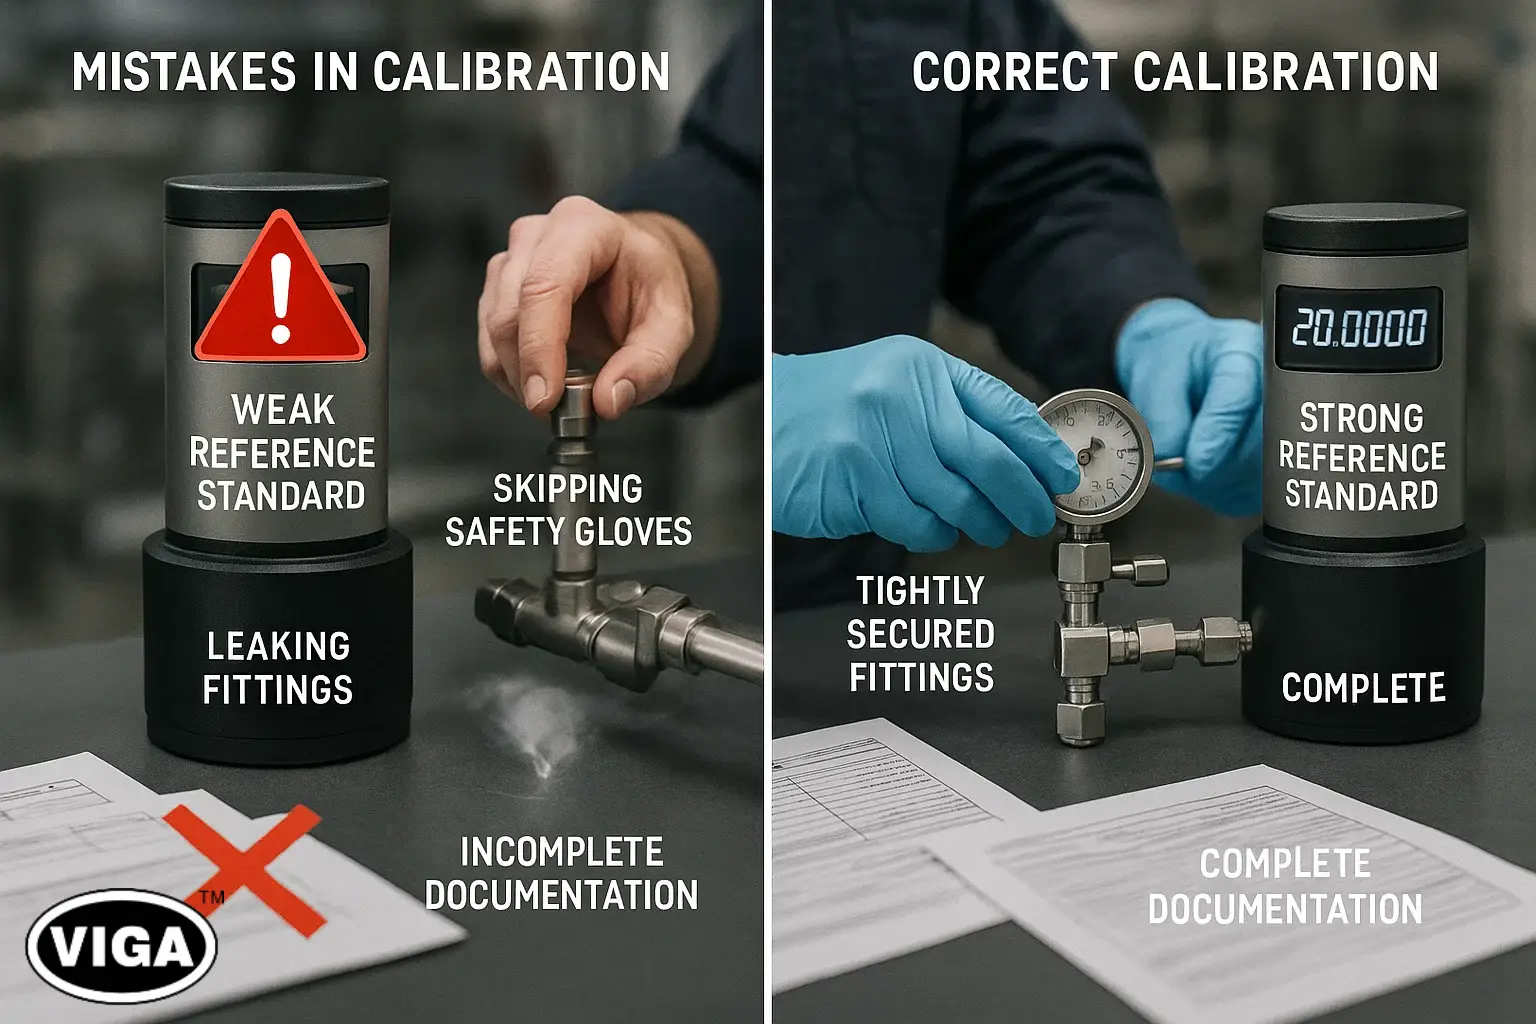
Common Mistakes to Sidestep in Pressure Gauge Calibration
- Using a Weak Reference Standard: This is the cardinal sin of calibration. Using a master gauge that isn’t at least 4x more accurate than your test gauge makes the entire process worthless.
- Ignoring Temperature: Calibrating a cold gauge in a warm room (or vice-versa) without letting it acclimate will skew your results. Be patient.
- Tolerating Leaks: A tiny leak in your setup will cause the pressure to constantly bleed off, making a stable, accurate reading impossible. Check your connections.
- Skipping the ‘Exercise’ Step: Forgetting to exercise a mechanical gauge can result in sticky, inconsistent readings, especially at the start of the test.
- Sloppy Documentation: An incomplete or messy certificate undermines all the careful work you just did. Be thorough and professional.
Summary
At the end of the day, calibrating a pressure gauge isn’t just “good practice”—it’s a fundamental pillar of any safe, compliant, and efficient operation. By following a structured, methodical process, using the right traceable tools, and documenting everything correctly, companies can trust the data their instruments provide. This commitment to precision isn’t just about optimizing a process; it’s a core component of a healthy safety culture.
Is your team’s calibration program up to snuff? If you need expert guidance on setting up an in-house lab, require on-site calibration services from an accredited provider, or need to procure high-precision calibration equipment, our specialists are ready to help. Contact us today to ensure your measurements are never in doubt.
Frequently Asked Questions (FAQ)
Q1. What’s the real difference between calibration and adjustment?
A. Calibration is simply the act of comparing. You’re testing a device against a known, accurate standard to find out how much error it has. You don’t change the device itself. Adjustment is what you do after a failed calibration—you physically alter the device (e.g., turn a screw) to correct the error and bring it back into tolerance. You must always perform another calibration after an adjustment to prove it worked.
Q2. What does NIST traceability really mean?
A. Think of it as a “family tree of accuracy.” It means the calibration lab’s equipment has a documented, unbroken chain of calibrations linking it all the way back to the primary standards maintained by the National Institute of Standards and Technology (NIST). This chain provides auditable proof that your measurement is “plugged in” to the national standard for accuracy, a key demand of quality systems like ISO 9001.
Q3. Is calibrating a digital gauge the same as an analog one?
A. The basic idea is the same—compare it to a more accurate reference standard at set pressure points. The big difference is that digital gauges don’t have mechanical parts to “exercise” and usually can’t be adjusted in the field. If a digital gauge is out of tolerance, the solution is typically to either replace it or send it to a specialized lab for electronic recalibration.
Q4. What is ‘hysteresis’ on a pressure gauge?
A. Hysteresis is the gauge’s tendency to show a different reading at the exact same pressure point depending on whether you’re increasing the pressure or decreasing it. It’s caused by internal friction and mechanical lag. High hysteresis indicates a worn-out or poor-quality gauge, and it’s a common reason for a gauge to fail calibration because its readings aren’t consistent.
Q5. How accurate does my reference standard need to be?
A. The standard best practice is a Test Accuracy Ratio (TAR) of 4:1. In plain English, your reference standard needs to be at least four times more accurate than the instrument you’re testing. So, to calibrate a gauge with ±2% accuracy, your master standard should be accurate to at least ±0.5%. This ensures that the uncertainty of your standard is a very minor contributor to the overall test error.